

You shall be needing a certain level of professionalism to be able to Contour and Highlight your face the right way. But nothing is impossible dearies, if you follow the below steps properly and keep practicing, you will surely get it right; although you might end up looking like "up nepa" the first few time you try, but you know what? it only gets better.
This tutorial I'm about to share with you was done by Dodos Uvieghara, remember her? I featured sometimes back on CWP Person of the week here. So join me as we learn out to Contour and Highlight our face the professional way. enjoy....
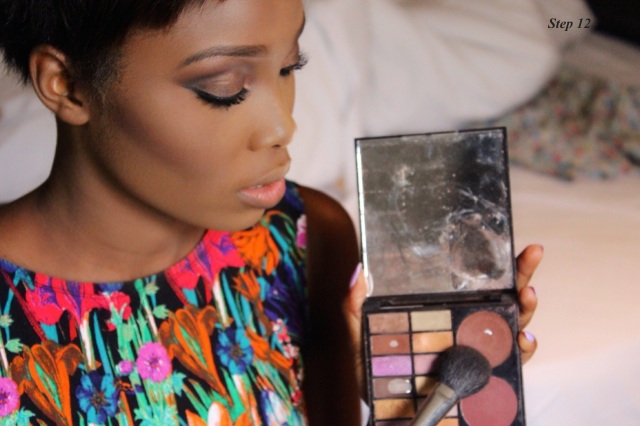
Products Used:
Mary Kay Foundation 607 & 507
Mac Concealer
Mac Foundation 9.5
Ben Nye Banana Powder
Mac Mineralize Skin Finish (Dark)
Mac Currant Lip Liner
LA Girl Glazed Lip Paint in
Sigma Kabuki Brush
Real Technique Flat Concealer Brush
Real Technique Blending Brush

Step 1: My face had already been primed using the MUD face primer, I also did my eyebrows and eye shadow.

Step 2: I applied Mary Kay foundation using the flat Sigma kabuki brush.
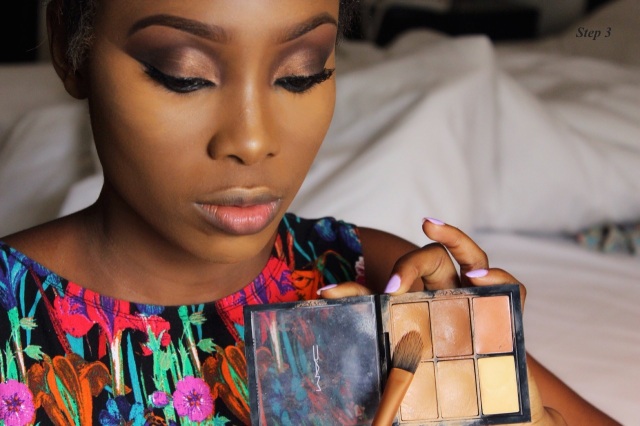
Step 3: I used a flat concealer brush to highlight using a concealer that is two shades lighter than my usual colour (depending on the look you are trying to achieve). I then applied the concealer under the eyes to the high part of my cheekbones to define my cheeks, in between my eyebrows, and the bridge of my nose and chin.

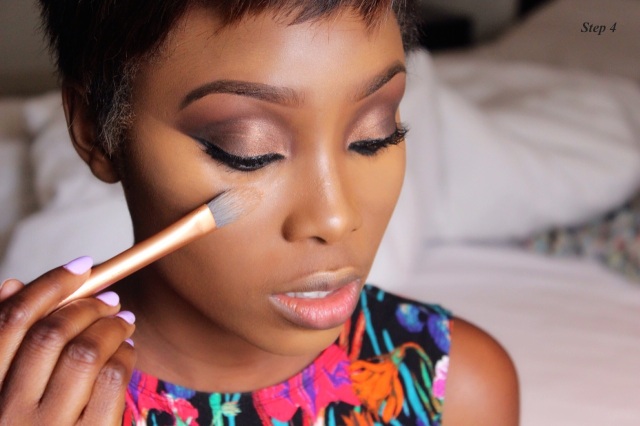
Step 4: I used the blending brush to contour using a darker concealer (in my case I used a darker foundation – Mac 9.5) directly under my cheek bones, the sides of my nose bridge and one inch above my temple to add more depth to my face.

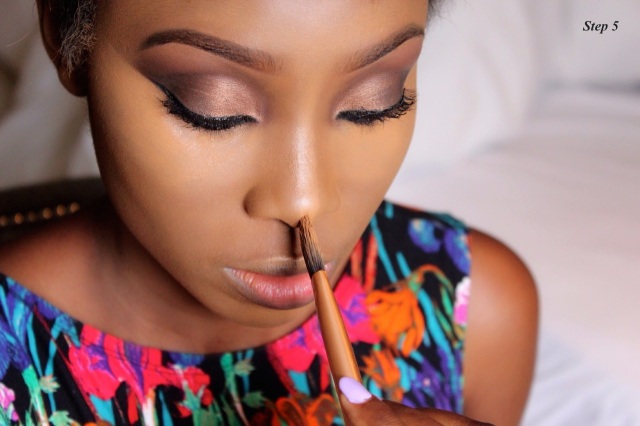
Step 5: I blended the areas that were highlighted and contoured using a flat kabuki brush.
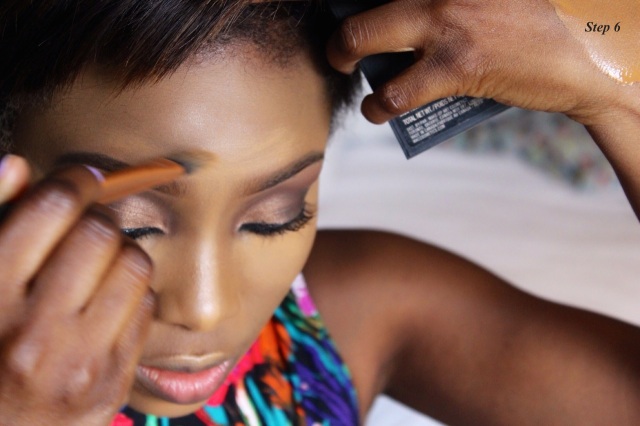
Step 6: I set the highlighted areas (under eyes, highest point of cheekbones, nose bridge and in between my brows) with Ben Nye Banana Powder using a beauty blender/wedge. Blend, blend, blend.

Step 7: I used a dark brown blush to emphasize areas I contoured earlier (under cheekbones, sides of my nose bridge). You can use the dark brown shade in any contour palette. Blend away!
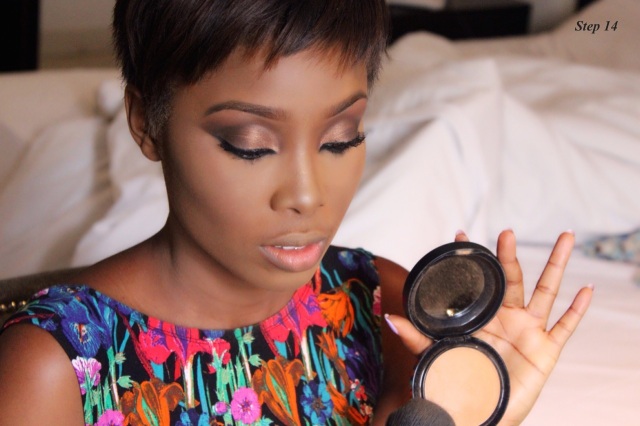

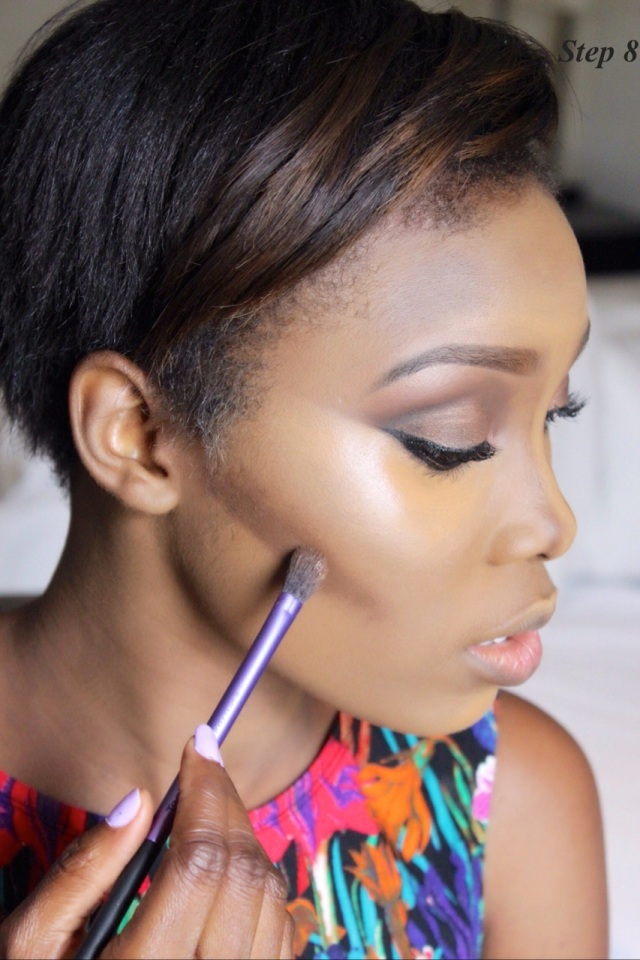
Step 8: I applied pressed powder all over my face while carefully blending it in.


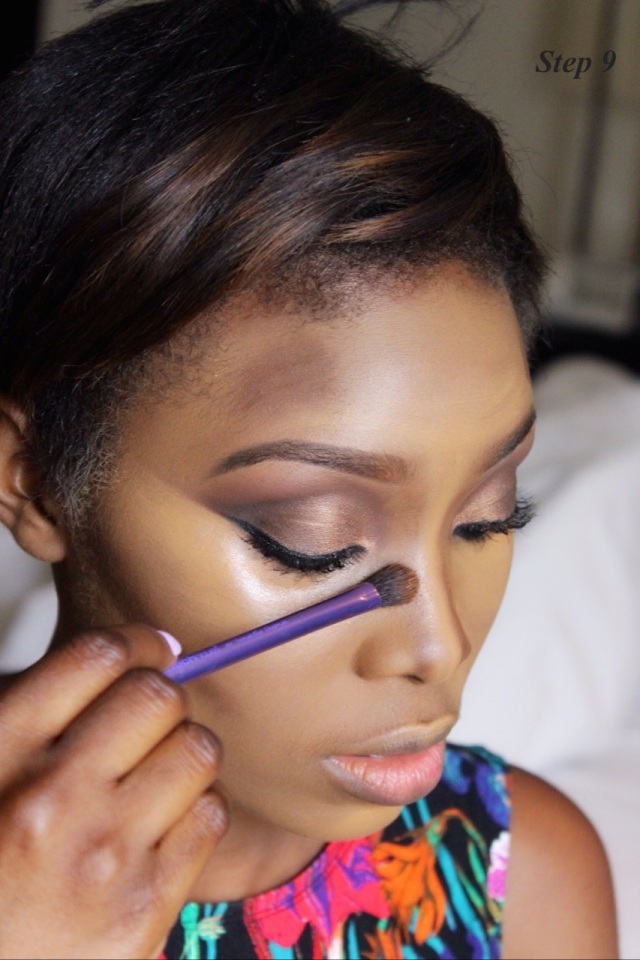
Step 9: I applied blush to the apples of my cheeks. The blush I used is highly pigmented and creates a bronzy effect so I just substituted it for a highlighter. If yours isn’t as pigmented, you can add highlighter as well.

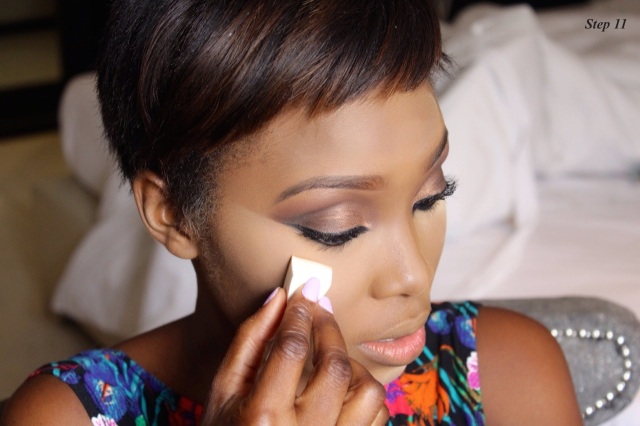
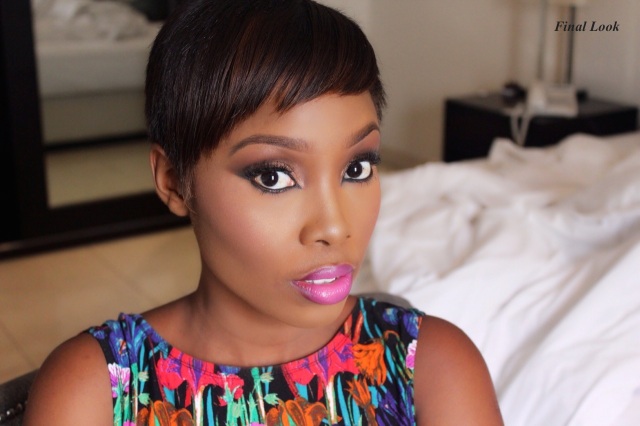
Step 10: I applied lip-liner and lip stain.
Here’s the final look

Source: iamdodos.com
I hope you find this helpful beauties. thank me later *hugs*
Hmmm I don't think I can do all this. Good luck to those that will try this.
ReplyDeleteThere is no harm in trying.....who knows you might just do great on your first try. Stay beautiful dear.
Deletewow datz gud. Will try it
ReplyDeleteSeriously am learning alot frm u dear pat thanx for everythin
ReplyDeleteAwww! Its my pleasure....thanks for stopping by too.
Delete